First, equipment
Scissors (for rabbit hair), elbow ophthalmic surgery forceps (for free blood vessels), straight ophthalmic surgery scissors (for blood vessel cutting), scalpel holder, surgical blade, syringe (1ml, 10ml, 25ml) with needle, rabbit holder, sterilized flask (200ml) or plate (diameter 18cm), four elbow hemostatic forceps, two straight hemostats, surgical sutures, plastic blood vessels, gauze, etc.
Second, the reagent
Saline (or PBS), Freund’s complete adjuvant (FCA), Freund’s incomplete adjuvant (FIA), Xylene, alcohol cotton, cotton wool, 2% NaN3.
Third, the immunogen
: protein or KLH conjugated polypeptide. Each immunization uses 100-200 μg of immunogen.
Fourth, the choice of rabbit
The rabbit should weigh more than four pounds, have smooth ears, and healthy arteries.
Fifth, immunity
Dilute the immunogen with saline, then mix it with the corresponding adjuvant in a 1:1 ratio. Ensure thorough mixing to form a stable emulsion. Inject subcutaneously around the shoulders and intramuscularly into the thigh, using about 1/4 of the total area per injection. This allows the immunogen to persist and trigger an immune response.
Note:
Collect some normal serum before antigen injection as a negative control. After the rabbit is stable in its new environment, take blood from the ear artery after about four days. A volume of 5ml is sufficient. The antigen used for immunization must be purified; otherwise, the quality of the antibody will be affected. FCA or FIA must be fully emulsified before injection. Mix equal parts of antigen solution and adjuvant, shake vigorously on a mixer to ensure proper emulsification. This process is time-consuming but essential. After shaking, centrifuge at 1000rpm for one minute. If no separation occurs, the mixture is ready for injection. First immunization uses FCA, followed by FIA in later rounds.
Immunization can be done via multi-point injections on the back. Inject subcutaneously on both sides of the spine, 4-6 points, each with 0.1ml. Repeat every two weeks, choosing different sites to avoid ulcers. Each immunization uses about 100μg of antigen. Four to five immunizations are common, with decreasing amounts over time.
Sixth, take blood:
One week after immunization, draw blood from the ear artery to check antibody titer. The first few immunizations produce lower titers, so test the first two samples. After three immunizations, higher titers are obtained, allowing for 40ml of blood per draw without causing anemia.
The first few blood samples were taken from the ear artery of rabbit 19, with serum precipitated overnight at room temperature. For the final blood draw, use the carotid artery:
1. Place the rabbit on a frame, fix the head and limbs with gauze, and slightly lower the head to expose the neck. Shave and disinfect the skin.
2. Cut along the midline of the neck with a scalpel, separate subcutaneous tissue until the sternocleidomastoid muscles are exposed. Be careful not to damage small blood vessels.
3. Use straight hemostatic forceps to separate the cervical triangle between the sternocleidomastoid and trachea. Expose the common carotid artery and remove surrounding nerves and connective tissue.
4. Place two black silk threads under the artery, ligate the distal end, and clamp the proximal end with a hemostat.
5. Make a small incision in the artery between the two threads using a pointed ophthalmic scalpel, insert a plastic tube, and ligate the proximal thread to secure the vessel.
6. Release the hemostat to allow blood to flow into the container. A typical rabbit can bleed 100-120ml.
Seventh, serum separation:
If using a triangular flask or plate, place it at an angle in a 37°C oven for 2 hours, then let it sit at 4°C overnight. The next morning, aspirate the serum with a pipette. If using a centrifuge tube, follow the same steps, then centrifuge at 10,000 RCF for 10 minutes. Add NaN3 to achieve a final concentration of 0.02%, and store at -20°C.
Oca Sheet

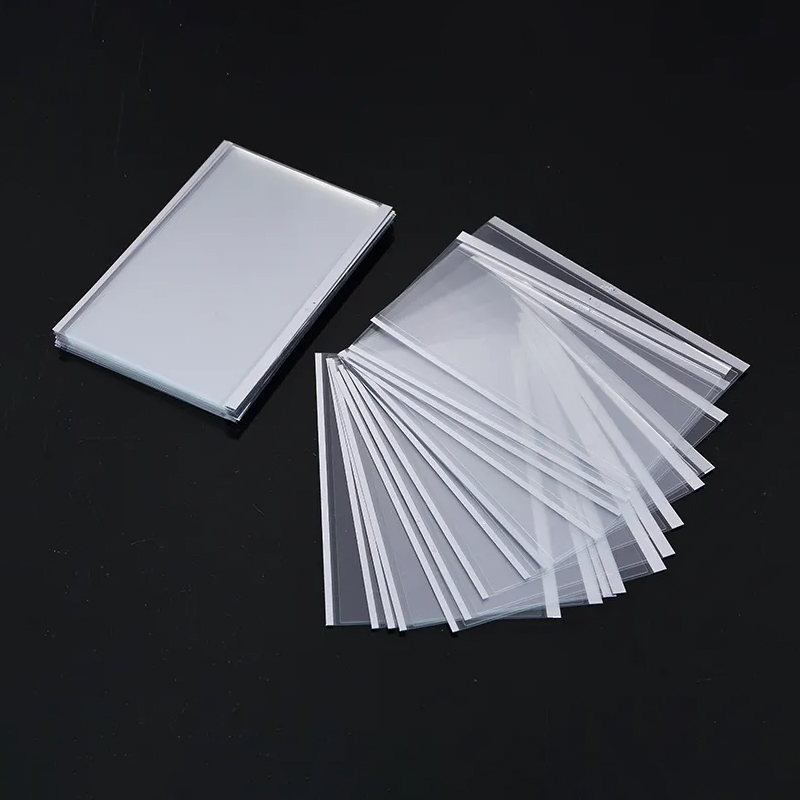
OCA (Optically Clear Adhesive) glue sheet is a type of adhesive film that is used in the assembly of electronic devices, particularly in the display industry. It is a transparent and optically clear adhesive that is used to bond different layers of a display module together. OCA glue sheets are commonly used in the manufacturing of smartphones, tablets, and other electronic devices with touch screens or LCD displays.
The main purpose of OCA glue sheets is to provide a strong and reliable bond between the layers of a display module, while also ensuring optical clarity and minimal distortion. It helps to eliminate air gaps and improve the overall visual quality of the display by reducing reflections and enhancing color vibrancy.
OCA glue sheets are typically made of a high-quality acrylic material that is optically transparent. They are available in various thicknesses and sizes to suit different display applications. The sheets are usually pre-cut to the required dimensions and then applied to the display layers using a lamination process.
Overall, OCA glue sheets play a crucial role in the manufacturing of electronic devices with displays, providing a reliable and visually pleasing bonding solution.
Oca Sheet,Oca Sheet Paper,Oca Glue Sheet,Oca Glue Paper Sheet
Dongguan Jili Electronic Technology Co., Ltd. , https://www.jlglassoca.com
